Making Vinegar Cheese

Hast thou not poured me out as milk, and curdled me like cheese?

Job 10:10

In our family, we usually don’t have a lot of leftover milk from our Milk Goats or Milk Cow. But, if we ever start getting quite a few gallons backed up, we like to make vinegar cheese!

It is one of our families favorites, and has a higher, better tasting yield when made from milk a few days old (but not sour).

Here is the recipe we like to use, and that works best for the amount we usually have that needs converted to cheese. You can half or double it and get the same result.

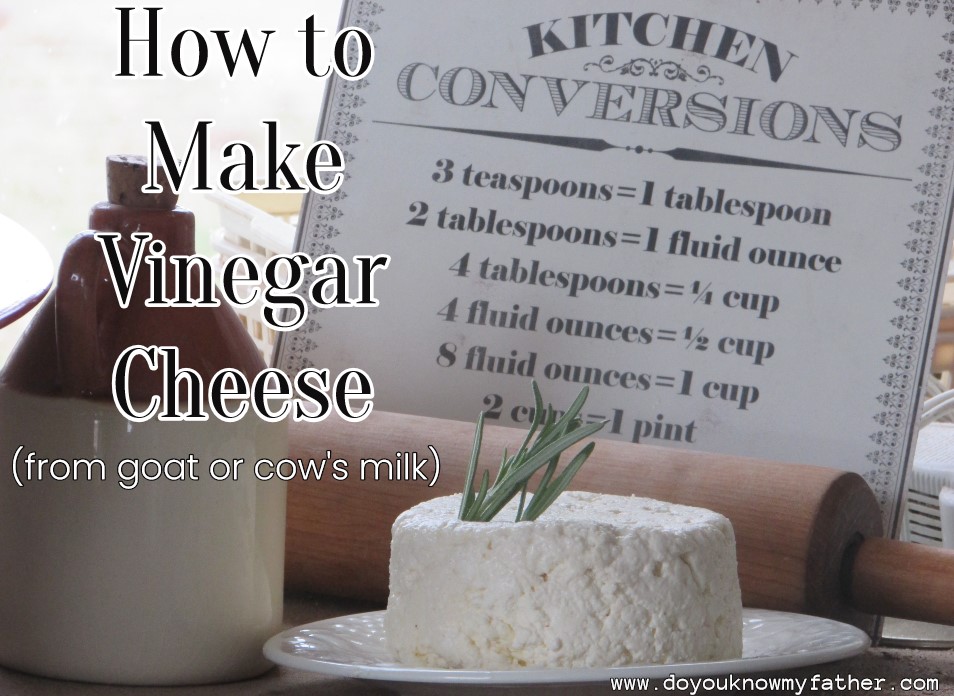
Homemade Vinegar Cheese

*Have your ‘candy’ thermometer on hand to monitor temperature

1 gallon milk (goat or cow)

1/2 c. White Vinegar

2 tsp. Real Salt

Pour your milk into a large pot and turn your stove on medium heat. Stir your milk and check the temperature frequently to keep it from scorching. When it reaches 180°, turn off your burner and add in your white vinegar. Cover with a lid, and set your timer for 20 minutes.

When your timer has went off, remove the lid. You should be able to see that the curds have separated from the whey.

Line a colander/strainer with cheese cloth/butter muslin, and pour your curds and whey into it. Tie the top of your cheesecloth/muslin and hang. (If you haven’t made cheese before, remember to put a bowl or pot underneath your hanging curds; this is to catch the whey as it drains out.)

You can let your curds hang for 1-24 hours. We like to just let it hang for an hour or two. The longer you let them hang, the drier the curds are. We just prefer ours more moist.

You can also take this recipe, and instead of hanging the curds, squeeze out most of the whey and put the remaining curds in a bowl. You can then add a little cream, and have something similar to cottage cheese. We enjoy it both ways.

Making Your Own Butter at Home (Without a Churn)

“Surely the churning of milk bringeth forth butter…” Pr. 30:33

One of the joys of having a family milk cow is all the different uses of the milk. In our home, we use a lot of butter….and we like fresh, raw butter the best.

Instead of shaking the cream in a jar for a few hours, we found the following way that is easy, works quickly, and we get the same result!

Step 1:

The first step is to skim the cream off your milk that has set in the fridge, preferably at least overnight. Take your cream and put it into a quart jar. Set your cream out until it reaches room temperature. If it is too cold, it will take much longer to turn into butter.

Step 2:

Pour your cream into your food processor, up to the ‘max liquid’ line. Put your processor on medium speed. DO NOT leave your processor. If your cream goes too long, it will turn into butter, and then go back to liquid again. After it goes back to liquid again, it is very hard to get it to go back to butter the second time.

Watch your cream closely, and you will see it begin to ‘gather’. At first, it will go through the stage where it looks like Cool Whip; don’t stop it here, let it keep going. You will see it turn yellow, and the buttermilk will be the liquid that is left. Stop it here! Take off your lid, and you will be able to see clumps of butter floating around, stuck to the sides or middle.

Step 3:

Drain off your buttermilk into a jar (if you want to keep it) and put your butter into a bowl. Press it down with a spoon, and you will see more buttermilk come off; Pour it out of your bowl. Continue to do this until you press and no buttermilk comes out.

Step 4:

When you are finished, and no more buttermilk comes out upon pressing, rinse your butter with cold water, pour it off, and pat it dry.

Step 5:

Salt your butter (if you like it salted), and it is ready to enjoy.